The Guerciotti Project, Stage 6: It Takes a Village
 With the front end of the Guerciotti all but taken care of, it’s time to move into the other business parts of the bike – scary parts like the drivetrain, brakes, and wheels – which all need to come together roughly at the same time. There are a seemingly endless supply of obscure parts to be found and assembled, and I have become acutely aware of the fact that I have no idea what I am doing. What I do have, however, is a fantastic network of friends, resources, and a healthy case of OCD. I will finish this fucking bike if it kills me. And it may.
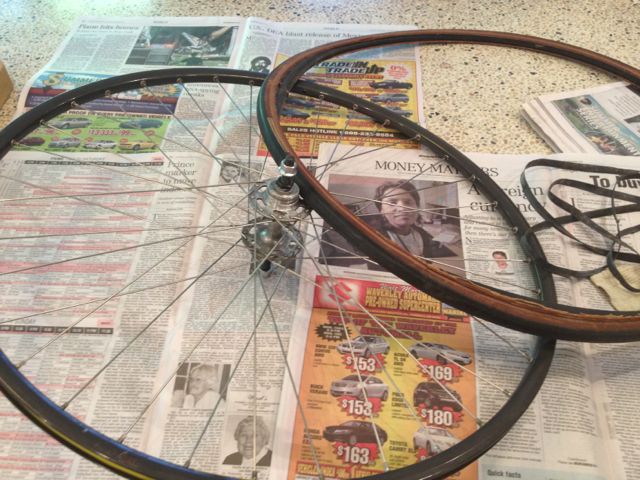
Let’s start with the wheels. If you’ll recall, I procured a sweet pair of blue Weinman wheels from Cousin Adam back in the spring in exchange for a bottle of bourbon and a six pack. I hate to sound fancy (even though I am super fancy), but said wheels, as nice as they are, would look atrocious with the purple frame. They will have to wait for the next project bike. It’s been nothing if not an organic process.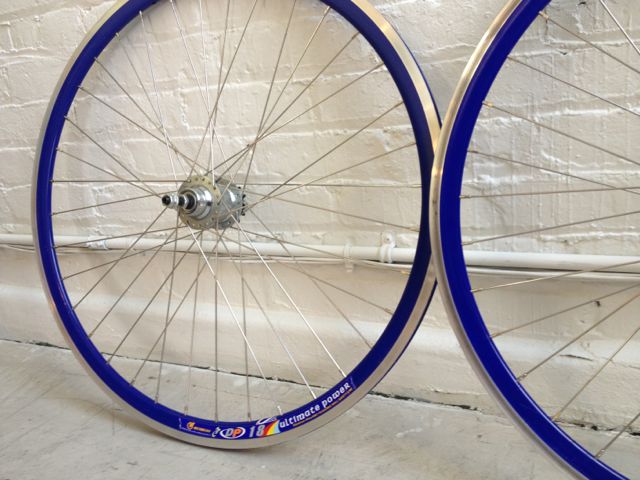 Coach Rick generously offered a set of track wheels he had lying around that sounded like a good match. One, an aluminum Ambrozio Prisma with a Gipiemme hub (soooo Italian), and the other a dark grey anodized Mavic (not so Italian). It feels a little wrong to put a French wheel on this bike, and the wheels do not match each other, but both had been used on a track some years ago and came with tyres so old and brittle they practically disintegrated when I took them off, so they have some serious street cred. In return for the wheels, I brought Coach Rick an official 80th Anniversary Campagnolo shirt back from Italy. He seemed pleased.
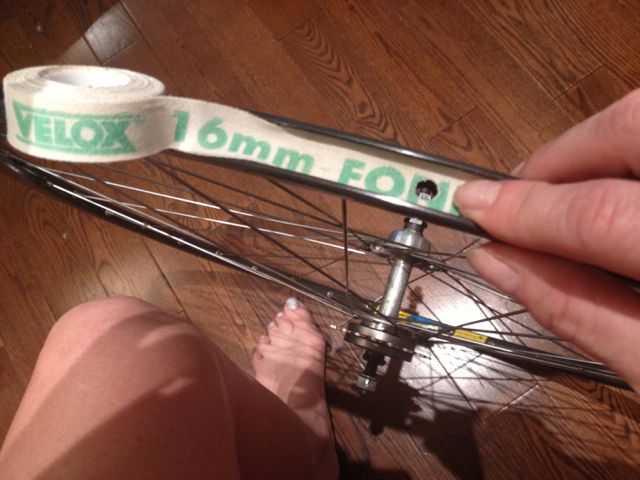
The rim tape on both wheels needed replacing, which I did (for the first time) with far more self-congratulation than the task probably deserves.
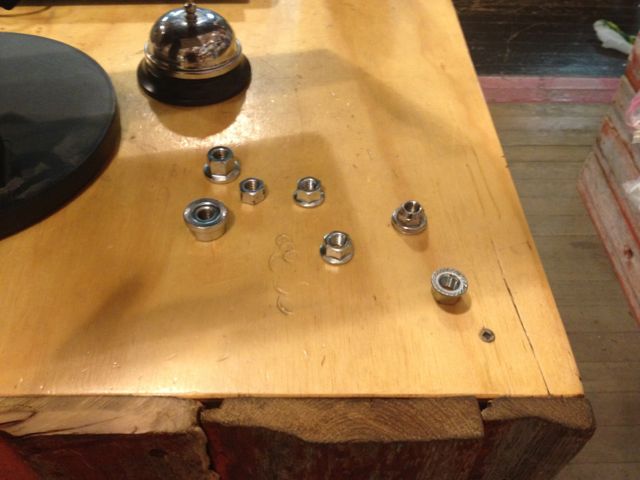
Of some concern were the wheel bolts. Which were missing. Things being what they are, the particular bolts I needed are probably situated in a cave somewhere in the Middle East beside the Holy Grail, so a new axel needed to be installed. Stupid bolts.
Thanks to a store credit at Olympia Cycle from coaching Kids of Mud last summer, plus a generous discount from Morgan, I picked up a pair of 28c Panaracer Pasela tyres (jeez, will that word ever look right?) which I saw in this post from bike blog celebrity John Watson (Prolly is not Probably). He shoots his regular Beautiful Bicycles features with the care and artistry generally reserved for portraits of naked women and Ferraris.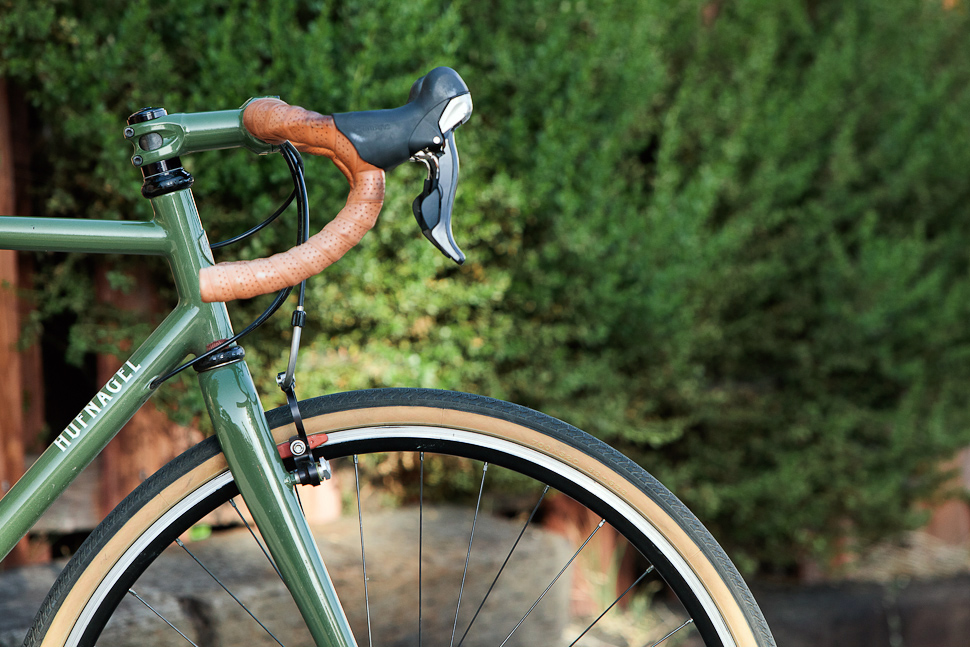
So. Hawt. The 28cs seemed perfect – nice and skinny so as not to wreck the aesthetic of the bike, but wide and grippy enough to ride in most weather without wrecking the aesthetic of my face. The gum walls are a good match for the hoods on the sweet retro TRP Tektro drilled alloy brake levers I ordered. At $110, these were the biggest splurge on the entire bike. But so worth it. 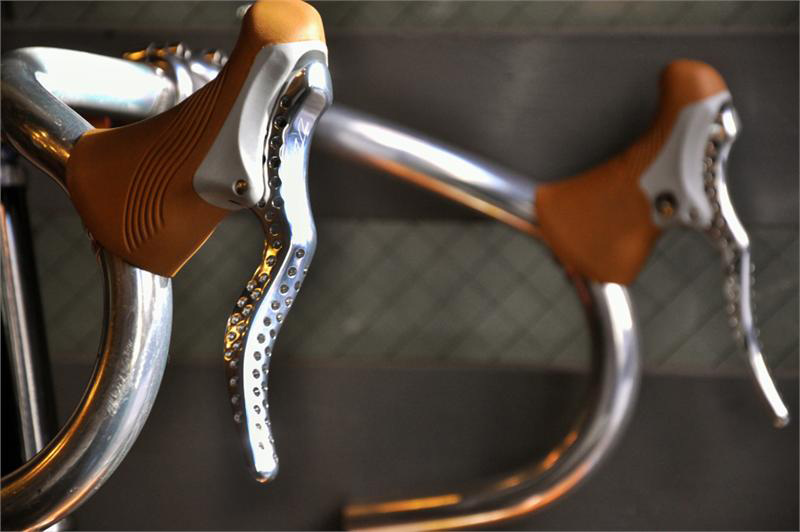
Image courtesy of Chari & Co. NYC . Yummy.
Once that was sorted out, it was time to move on to the part I was dreading the most – the drive train. Consisting of the front chain ring, cranks, chain, and rear cassette, this is by far the scariest and messiest part of a bicycle. Making the decision to change this bike to a single speed – thus negating the need for derailleurs (which I still only half understand) and the associated cabling – was easy. Deciding what gearing to use was harder, requiring more mathematics than I’ve had to use since I dropped out of physics in grade 11. Stupid physics.
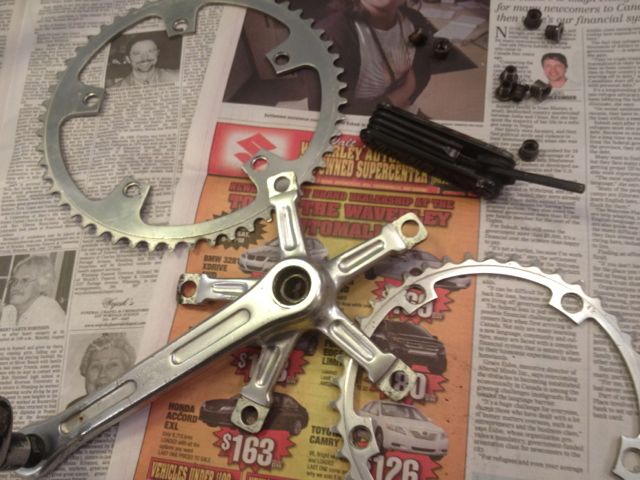
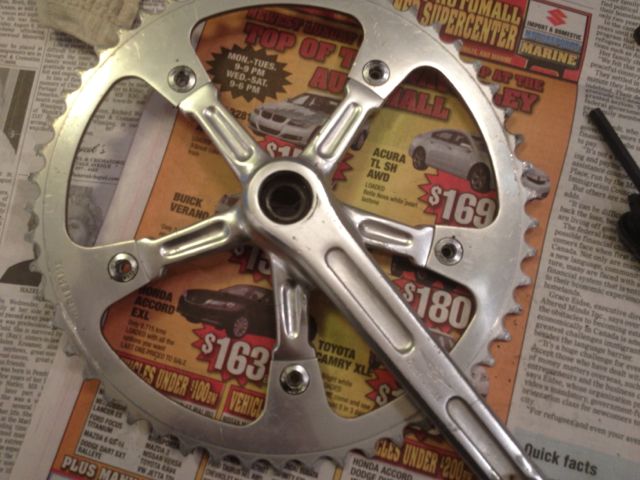
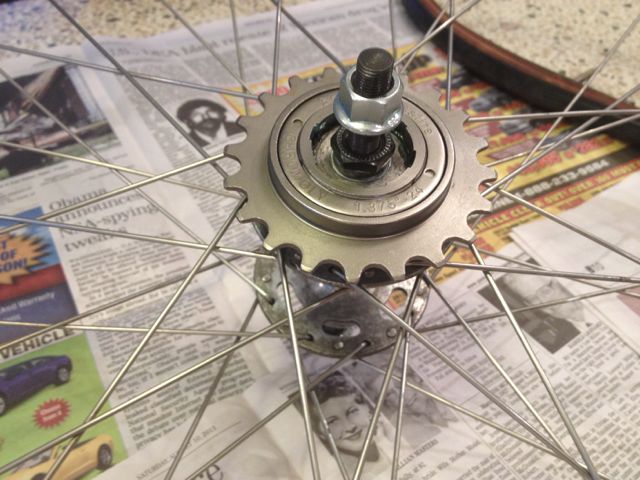
The bike came with 53 and 42 tooth rings on the front. It’s quite common (so I’m told) to use a 42 on the front with a 16 tooth cog on the back. Not too spinny, but not too grindy. However, a 53 tooth ring is bigger and looks more badass so I decided to use the 53 with a 20 tooth freewheel on the back, which offers the same gear ratio as the 42/16 set up.
Wow. Are you as turned on as I am right now?
I am pleased to report that I removed the 42 tooth ring, replaced the crank bolts, reattached the cranks, AND installed the freewheel ALL BY MYSELF.
In case you were wondering, I used newspaper to protect my kitchen counter, where the majority of the work I did on the bike was performed. You see, I’m not allowed to use the workbench in the basement anymore because ‘apparently’ I break things and don’t put the tools back where they belong. (Lies.)
Coach Rick also gave me a Campagnolo seat post, which generally requires the use of (you guessed it) a special Campagnolo seat post wrench due to the unusual location of the bolts. Positioned directly under the saddle, the bolts are nearly impossible to adjust and tighten with the saddle in place. A small 5mm wrench and some deep breathing exercises got the job done with barely any tears at all.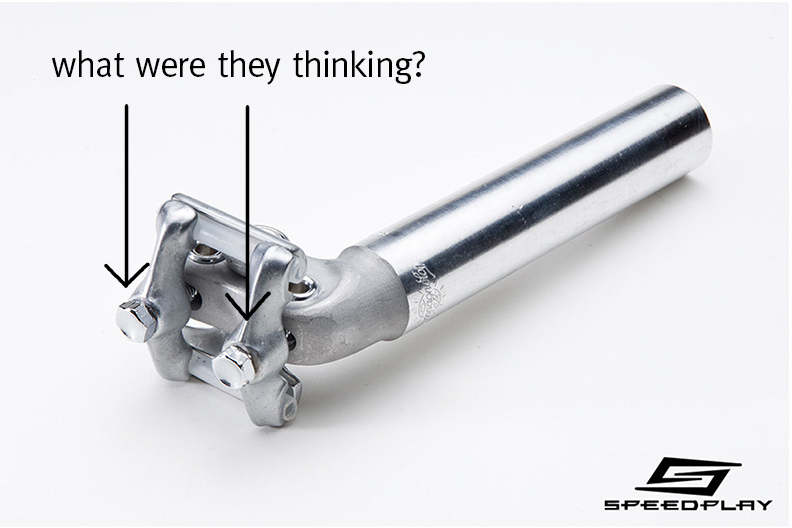
Photo by Speedplay Vintage Bicycle Component Museum.
The Impaler came through with this lovely set of old Campagnolo brakes that came with a very reasonable (liquid) price tag.
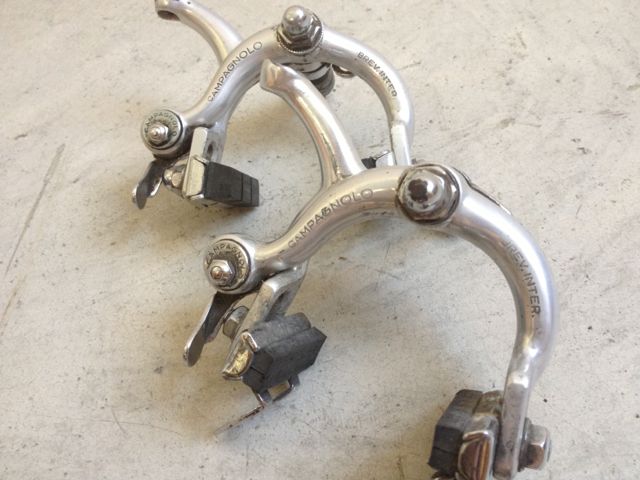
Installing and cabling the brakes was yet another journey into the terrifying unknown – a task accomplished with the loving help of Sheldon Brown, The Big Blue Book of Bicycle Repair, and a glass of pinot grigio.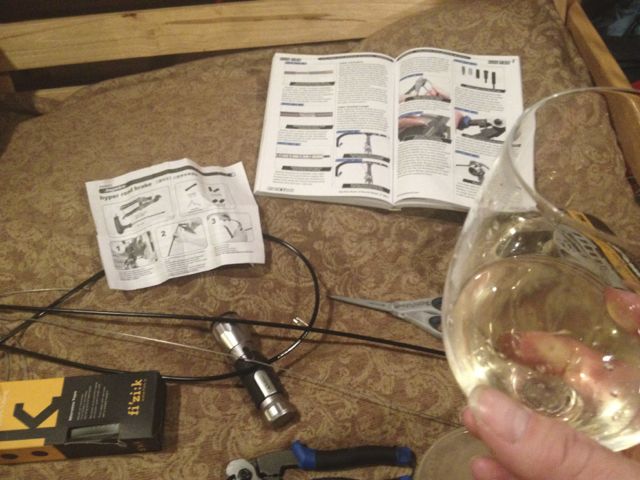
By this point I was visiting Andrew at Natural Cycle on a daily basis. Like me, Andrew has a passion for old Italian road bikes. Unlike me, however, he has an encyclopaedic knowledge of them, and actually knows what he is doing.

Young Andrew saved me, both in the poetic and literal sense, checking my work over to make sure it was done properly and nothing fell apart. In spite of the fact that I don’t exactly fit the mould of their typical customer, Andrew and the other folks at the shop offered invaluable support (without a single eye roll) during this phase of the project. At one point they even offered to set up a cot for me in the back.
Now all that remains are the fun, cosmetic parts of the build. Decals, bar tape, installing the tyres, and other tasks that are well within my comfort range.
Lastly, what I thought would be the easiest task has turned out to be one of the hardest. I decided to leave the bosses for the downtube shifters on, mostly because I love the look of the shifters. They remind me of fancy earrings. Finding Guerciotti ones has been impossible (they are sitting beside the Grail with those damn bolts), and Campagnolo ones would seem to be the only suitable alternative.
The other day a handsome prince named Ian dropped one of these: He doesn’t seem to need it, and I have been scouring the Kingdom of Twitter to find its match. It’s from the Campagnolo Victory group, probably late 1970s or early 1980s. If you happen to have a matching one lying around, I would be most happy to take it off your hands. Heck, I’d probably even
 give you a kiss buy you a beer.
You’ve probably noticed I have been quite coy about showing you much of the finished bike. It’s because I like drama and surprises, and I bet you do too. The next Guerciotti post will be a full photographic reveal with hardly any pesky words.
I can hardly wait to show you!
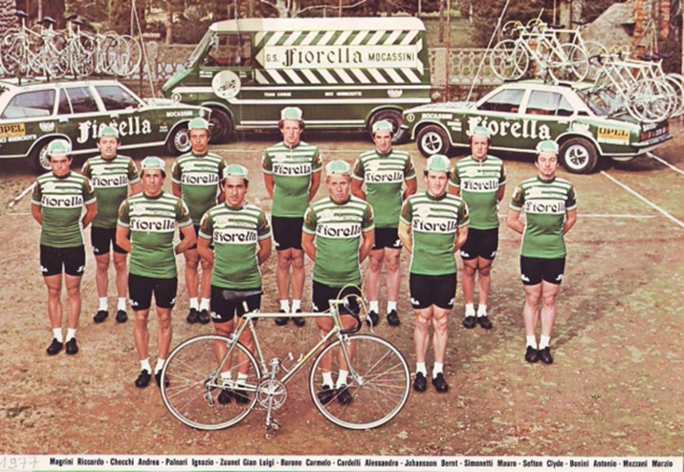
Feature Photo: Team Fiorella Mocassini in 1977
Gierciotti’s debut team on the pro circuit (1976)
Photo courtesy Guy Dedieu, Cycling Museum
I love it when you tease me like that… you know, by not showing a photo of the finished bike.
I hope there won’t be too many tears. From experience, using a mish mash of parts can have endless combatibility issues. Those blue rimmed wheels are so cute! Use them on something. The Ambrosia rims are notoriously evil to try put tires on, or change tires, Mavic rims are french and were considered worthy. Panaracer pasalas are pretty good value but do not hold up very well. You should check out the grand bois tires which Compass Cycles/Jan Heine sells, and are available in good bike shops too.
Those old campy brakes are the bomb, have them on my own mismatched bike. Can’t wait to see the bike.
Great project. Not so sure about Panaracer Paselas…something Italian more appropriate? Vittoria?
Thanks for the great article.
Those brake levers are the bomb.