
The First Cut is the Deepest. Here’s How to fix that Mother.
 People say that the birth of your child is the best day ever. These people are confusing ‘having’ a baby – which is very nice, with ‘giving birth’ to one – which any woman in her right mind will tell you is a fucking nightmare. So by process of elimination, the day you get a new bike is, in fact, the best day ever.
If we are to apply the same logic, the day you suffer the first significant damage to your precious new bike baby, is most certainly the worst day ever.
Recently, after a long and difficult wait, I was blessed with the arrival of a spanking new Focus CX Mares carbon fibre cyclocross race bike. It was love at first sight. Crisp white with red, white and blue accents, the bike is a little Evel Knievel, in a cool, retro 1970’s kind of way that makes me feel all warm and squishy when I look at it.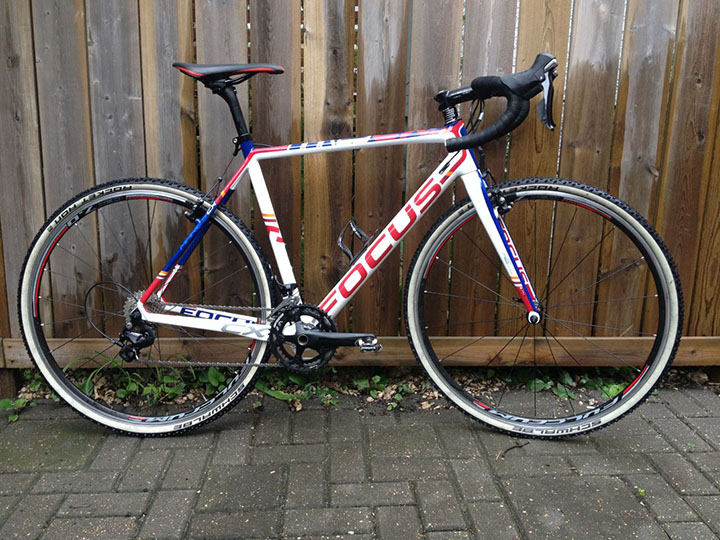
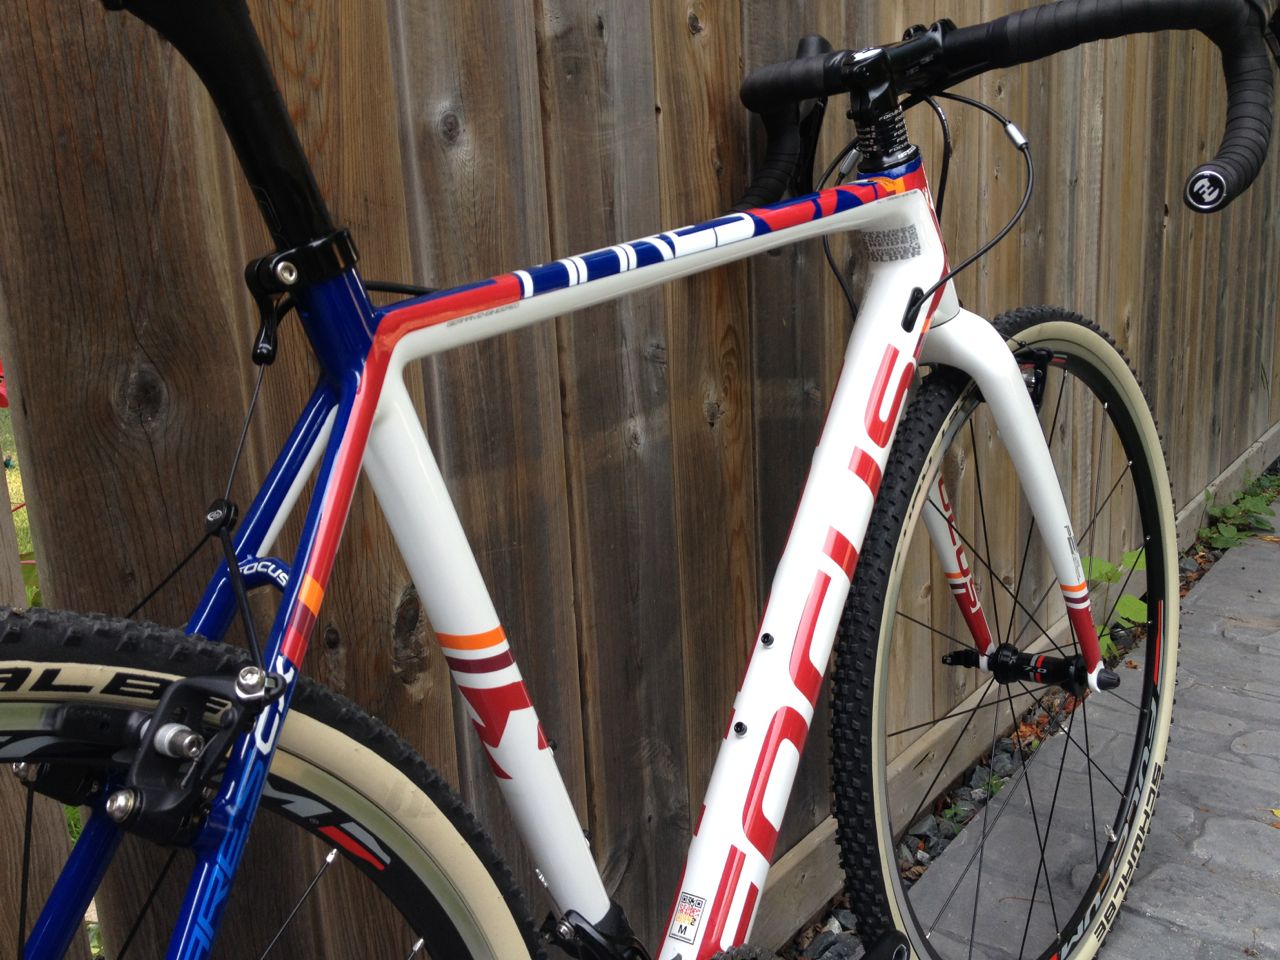
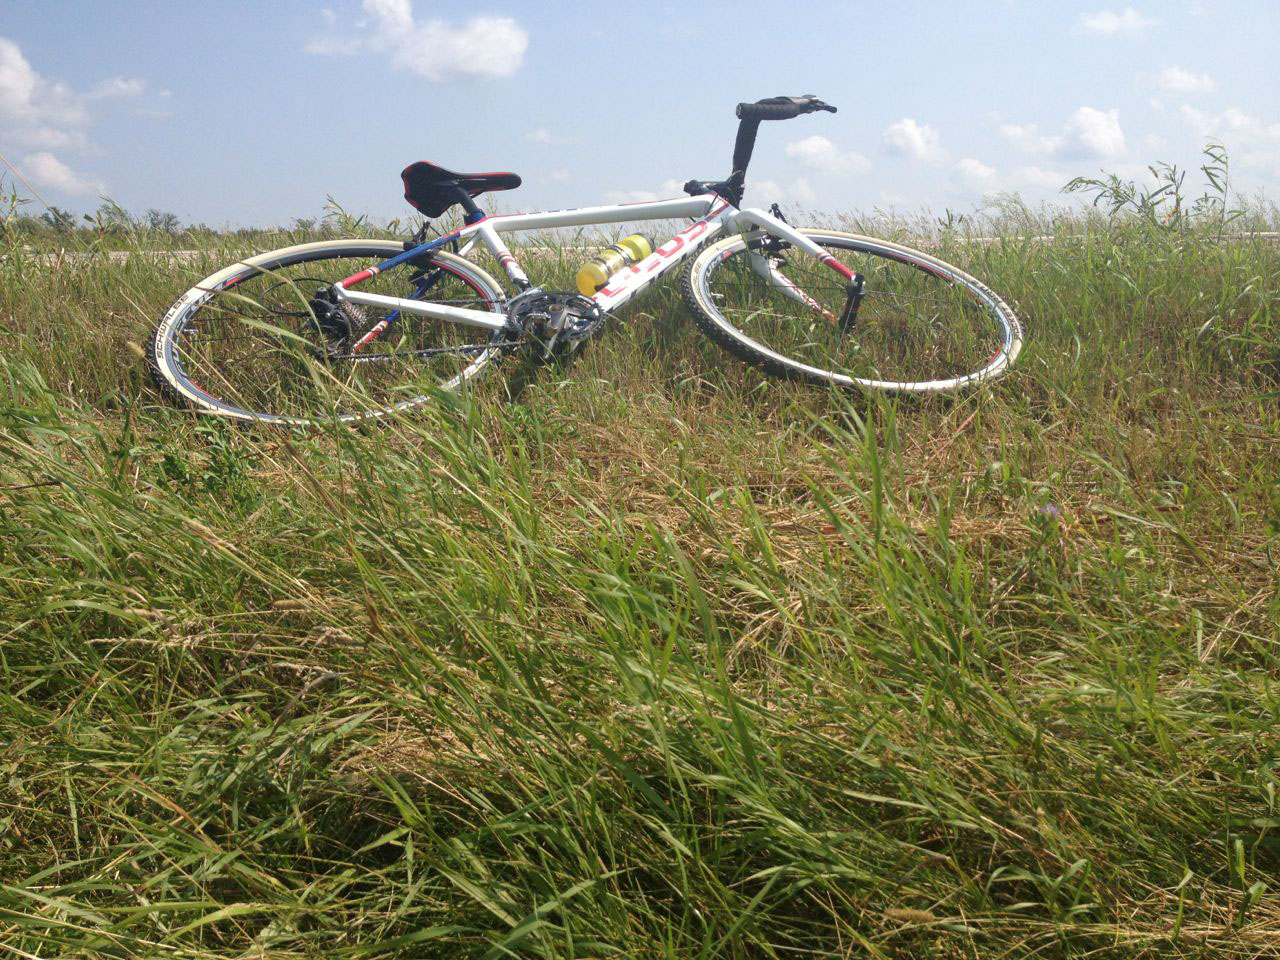
During our first weekend together, we bombed all through the countryside, riding on pavement, grass, and even gravel. This is a cyclocross bike, after all, and no matter how pretty it is, I was not going to treat it like it belonged in the Guggenheim. When the weekend was over and I was sufficiently and completely in love, the bike was placed lovingly on the hitch rack for the trip back to the city. Upon arrival at our destination, I saw this.
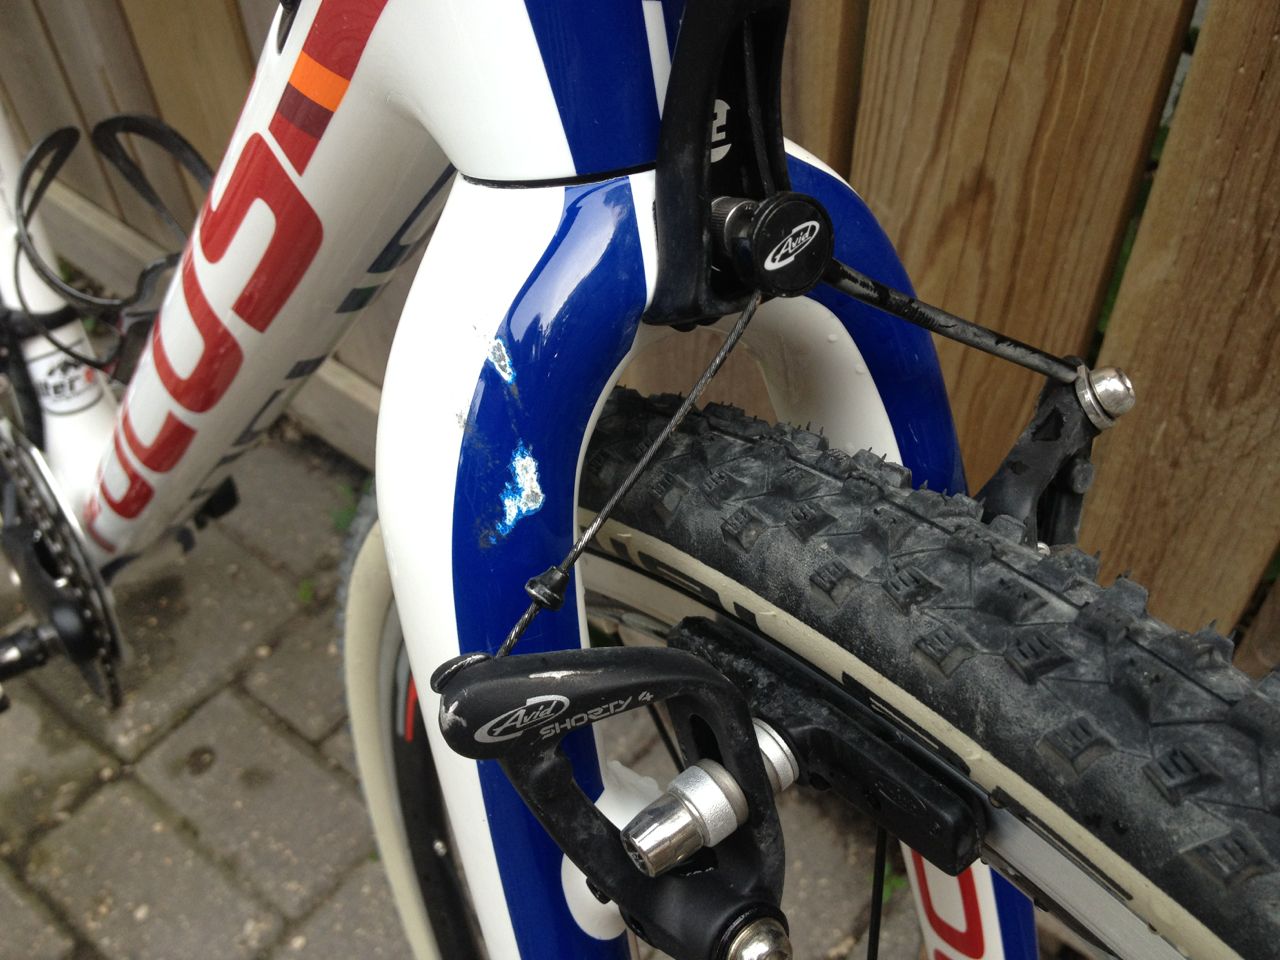
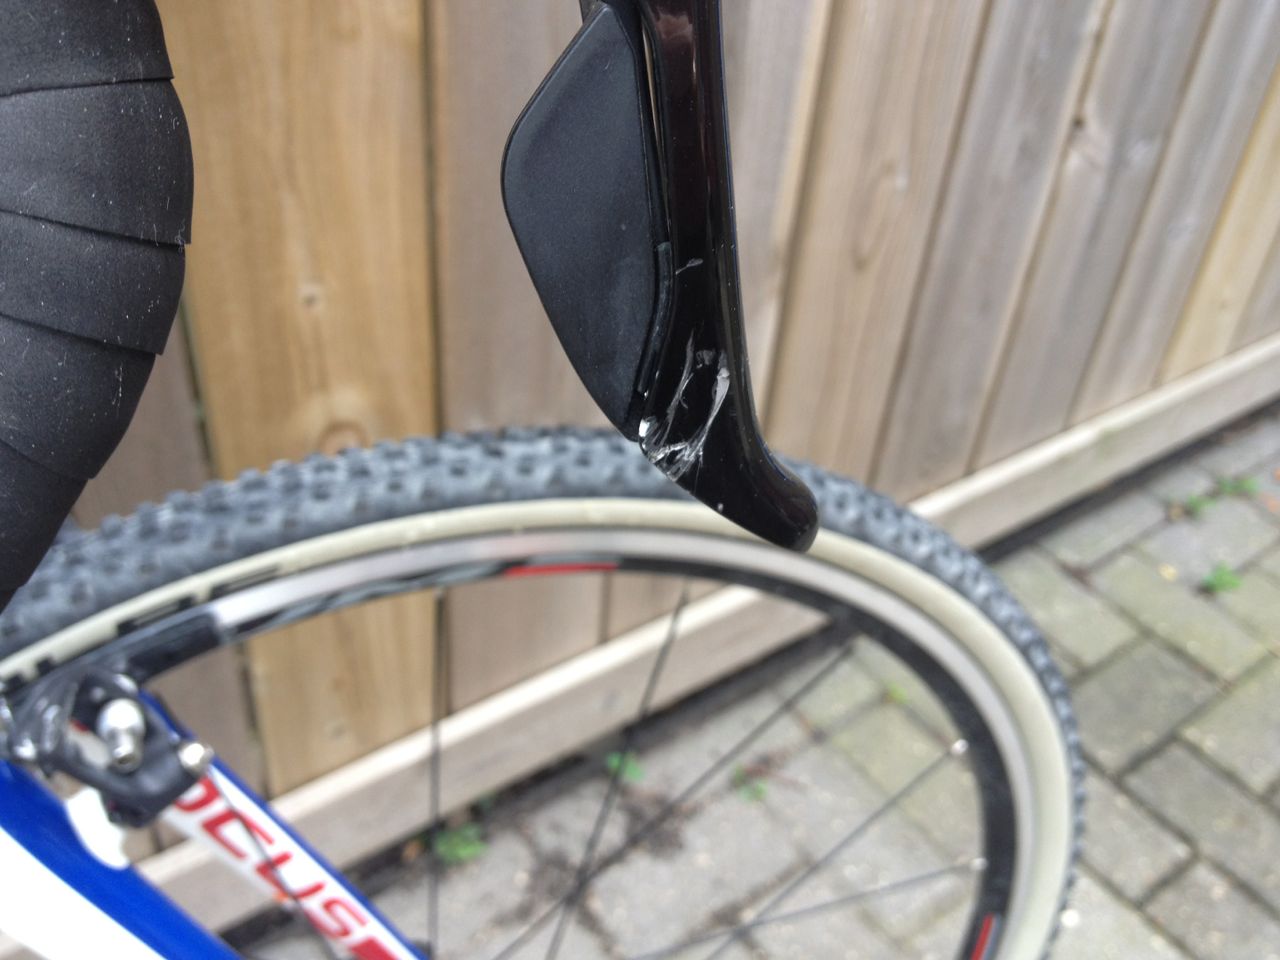
My reaction, accompanied by every swearword in every language I know, was this.
Breathe. Mother. Fucker. Breathe.
I’d had the bike for less than 48 hours and the damage from the stupid rack was worse than anything I have inflicted on any bike I have ever owned, including my road bike, which I have crashed effectively enough to be escorted from the scene by ambulance.
Well-meaning friends offered condolences. “It’s not so bad,” they said, “it’s a ‘cross bike, it was bound to happen eventually”. While all of this is true, when I looked at my beautiful new bike, all I could see were those horrible gouges.
This aggression would not stand, man.
I scoured the interwebs and interrogated the bike geek army for information on how to make the heinous blemishes disappear. There were a few options for a touch up – nail polish, automotive paint, or model paint seemed to be the most common suggestions. Riding the bike into a wall and destroying the fork in order to get a new one on warranty was an innovative idea, but I dismissed it based on the high probability of massive head trauma.
SO. Here are the steps I took and can recommend for a surface repair to your precious carbon bike. Keep in mind this is for surface damage only. If you have more significant damage, you need to get that shit checked out by a pro. You don’t want to find out your fork has been structurally compromised the hard way. Trust me.
STEP ONE
Calm the fuck down. You will get through this. While I don’t like to encourage drinking at a time of crisis, this may be an exception.
STEP TWO
Find a colour match. Being a graphic designer has few advantages in life, but having access to a Pantone colour match guide and chip book is one of them. When it came to shopping for paint, this little chip fit in my purse much better than my bike does.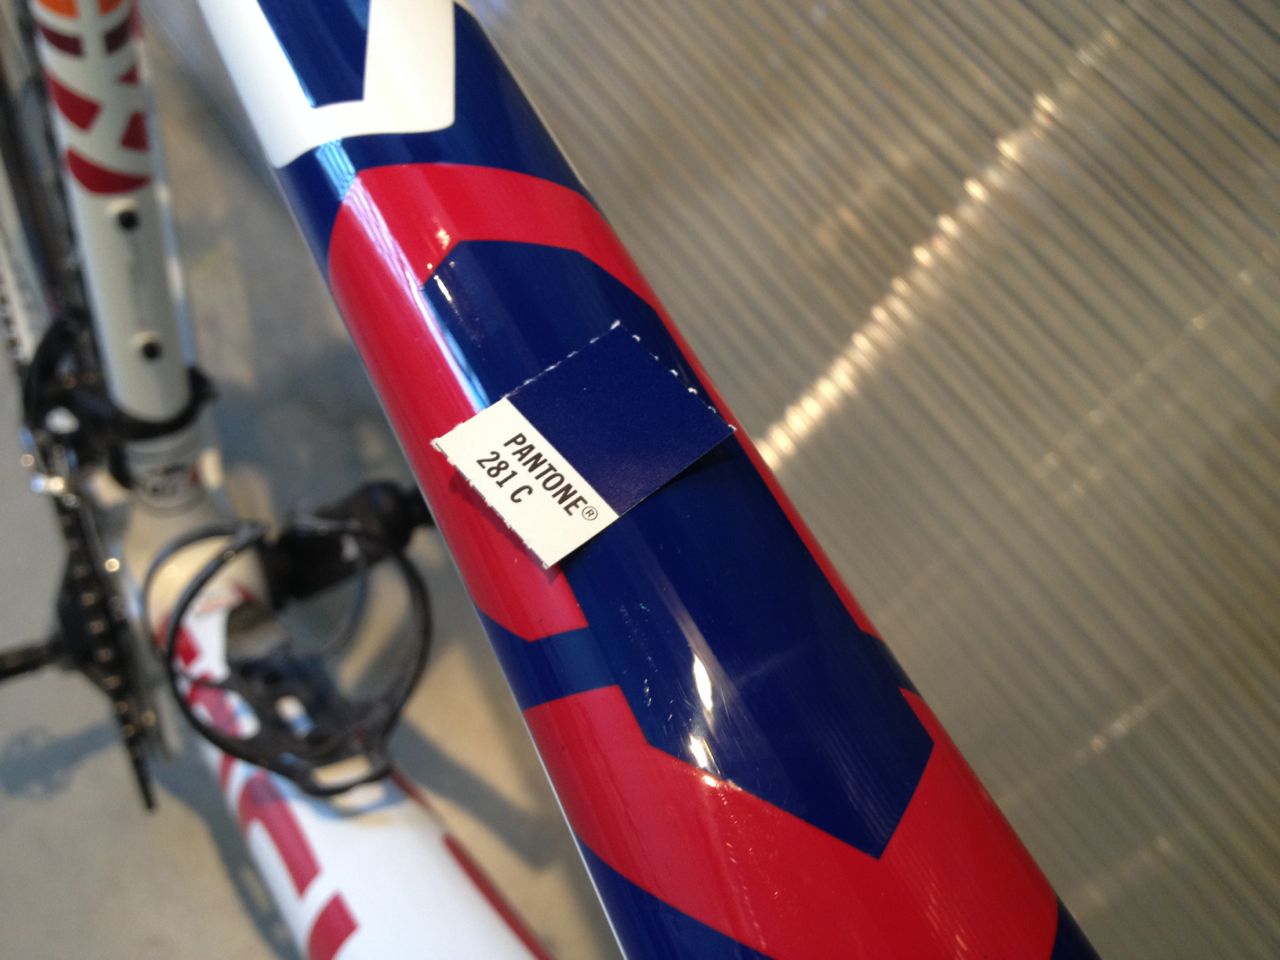
STEP THREE
Get some paint. I decided to use model paint – it comes in a shit ton of colours, has a thinner consistency than nail polish, and is significantly less work than trying to custom match automotive paint. The paint pots are small and relatively inexpensive, so get a few at your local hobby shop. Pay attention to the finish, they come in gloss, matte, and metallic. Even if you nail the colour, if you get the wrong finish, it will look like ass.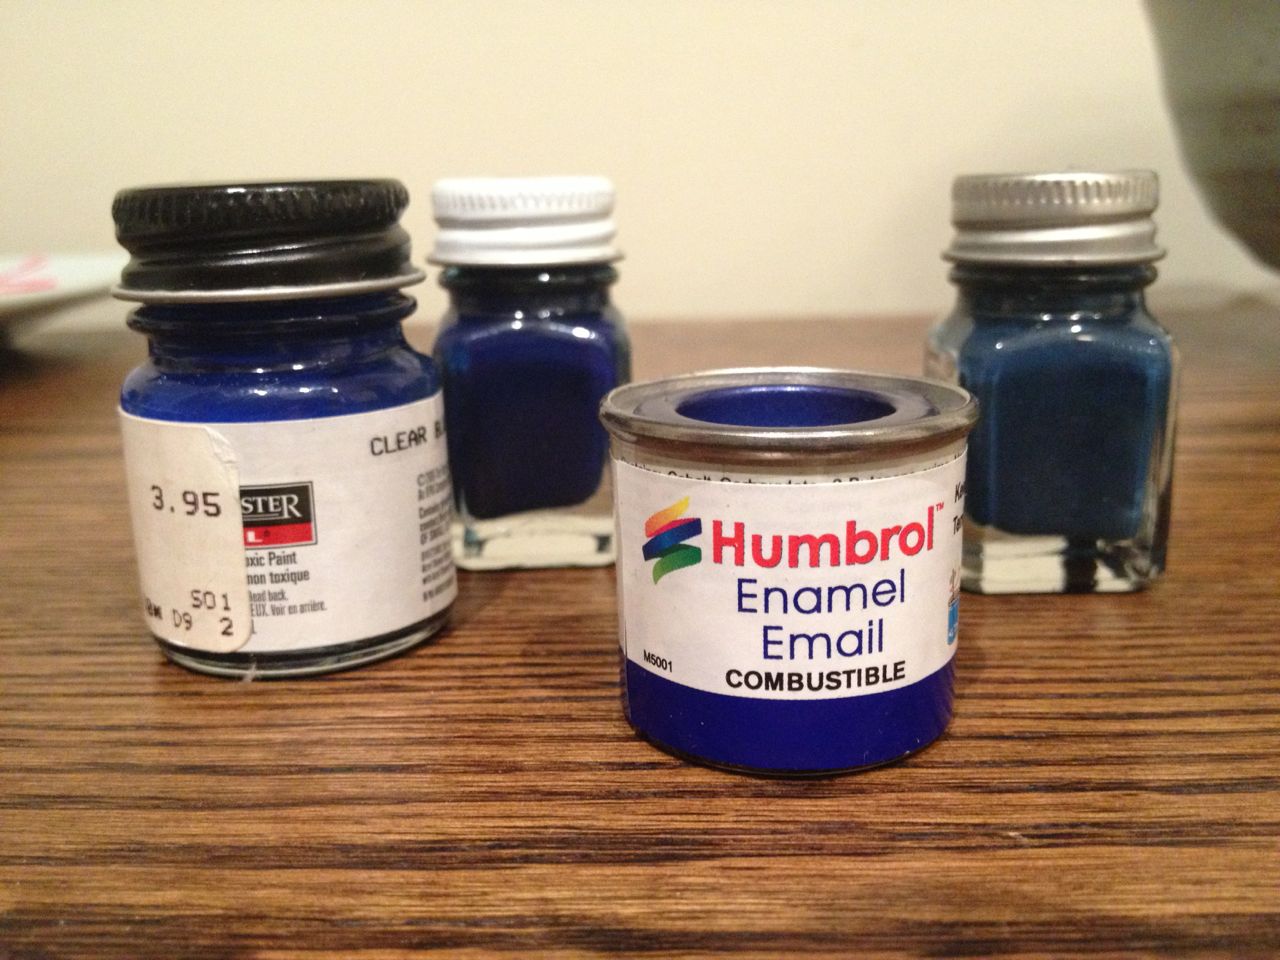 STEP FOUR
Do some tests, preferably on an inconspicuous part of your bike, like the undercarriage of the bottom bracket, assuming the colour appears there. I’m not going to lie, touching this part of your bike feels a little inappropriate. Incidentally, this is one of the only instances in which flipping your bike upside down is acceptable.
Do a small patch test and let the paint dry completely. This will also allow you to make sure the colour and finish are a good match. If you have trouble seeing the test spot once it’s dry, you have your match.
STEP FIVE
This one is a toughie, and I can almost say it should be avoided. Sand the area with a very, very fine sandpaper. It’s tricky and you may end up making matters worse, so use your best judgement. After you sand, make sure the area is clear of any dust, dirt, and vodka, as the case may be.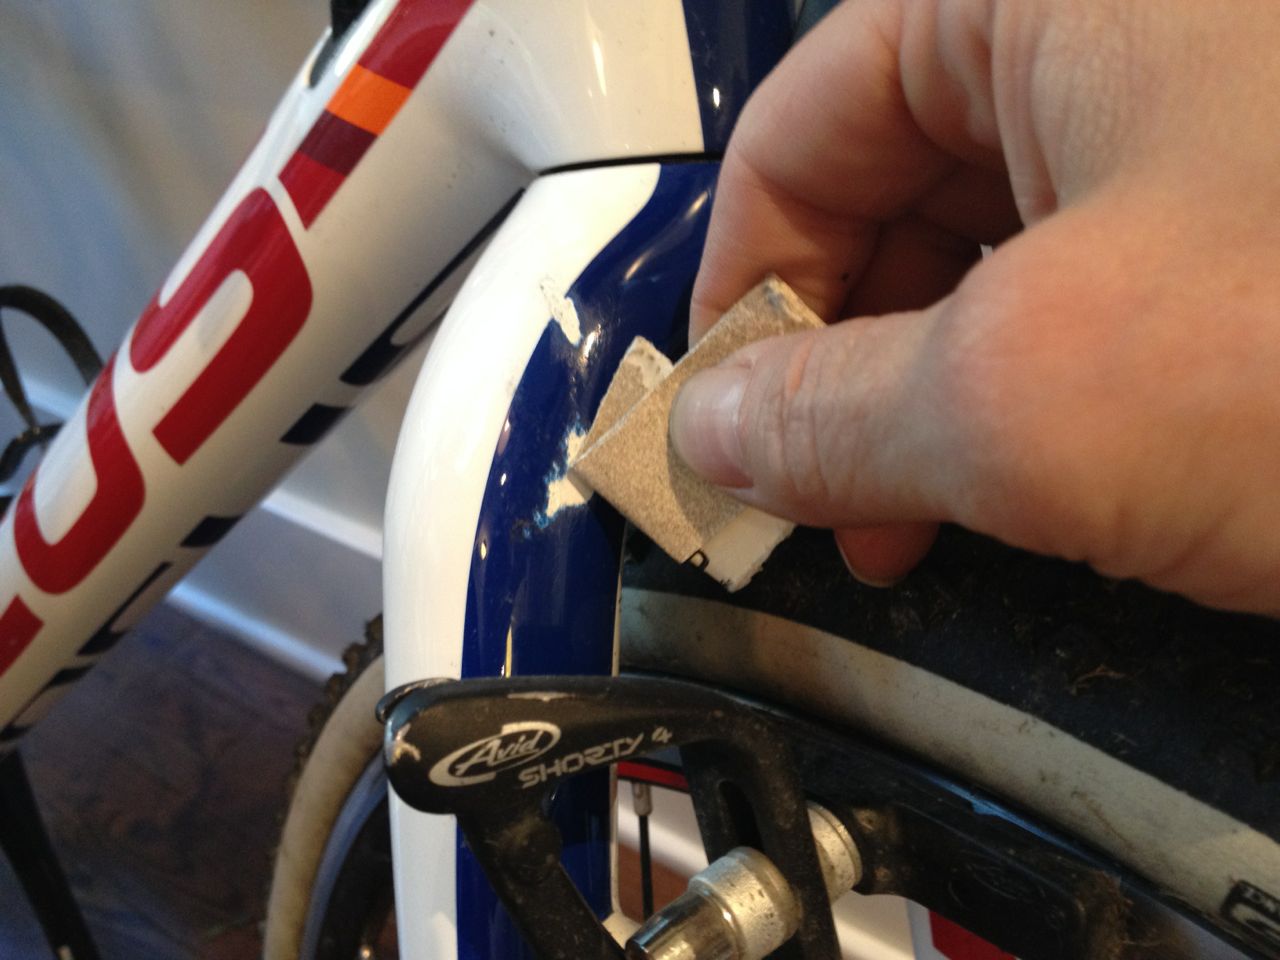
STEP SIX
Apply a thin layer of the paint with a good quality, fine tip brush. Use longish strokes, overlapping the good paint just a little. Make sure you do this under very good lighting conditions, and as sober as possible. Let the paint dry, inspect it to see if you need additional coats, and reapply as required, letting it dry completely between coats. This takes time, and waiting – as we all know – is hard. Hang in there.
STEP SEVEN
If you are so inclined, apply a thin coat of clear, no-chip nail polish over the patch to protect and seal the area. While you’re at it, go ahead and give yourself a manicure. You deserve it.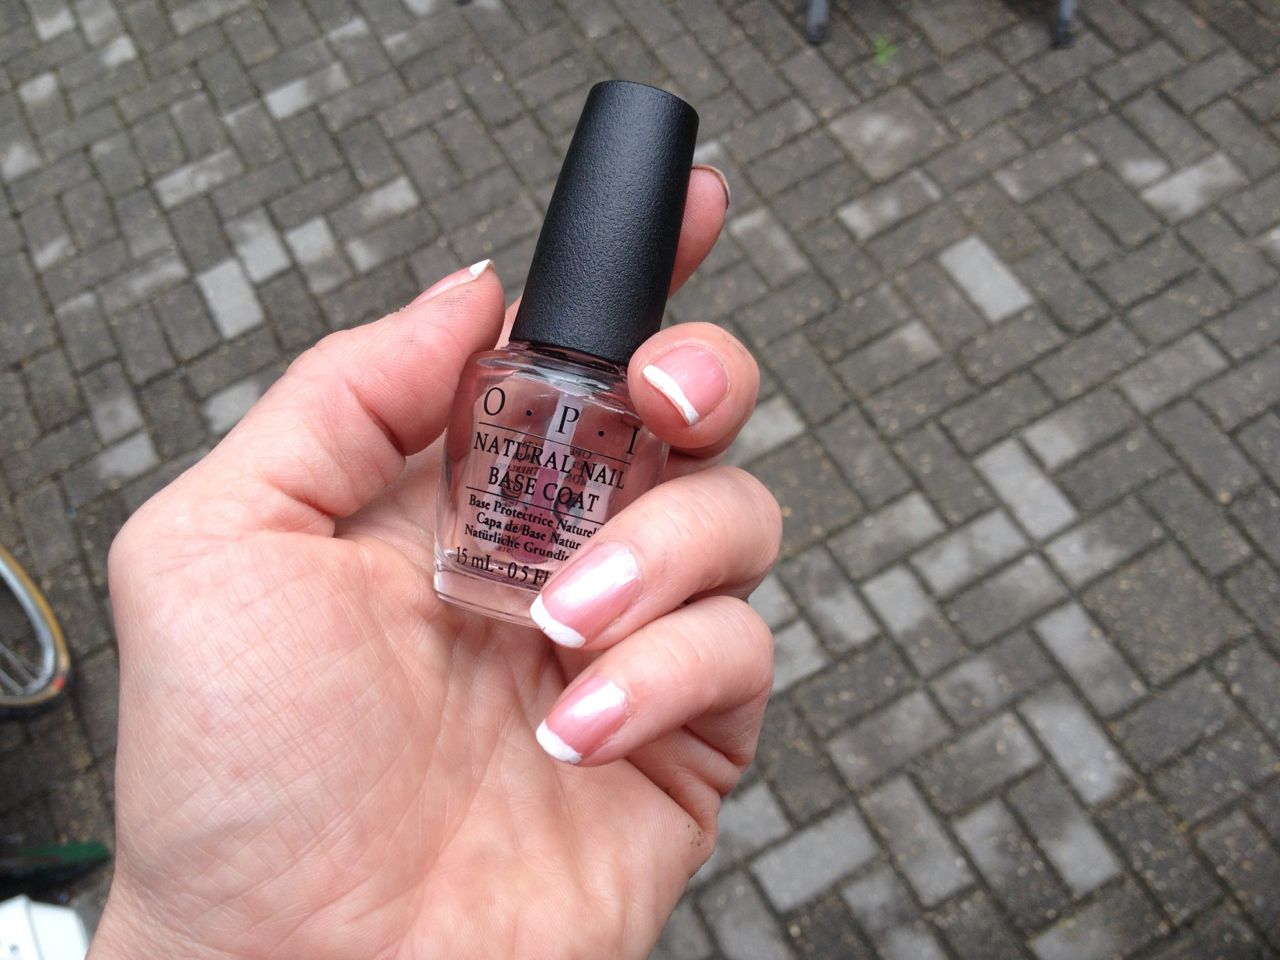 So there you have it. A ‘relatively’ quick, cheap, and painless fix that will (mostly) restore your bike to its previous glory.
Here is the before:
Here is the after: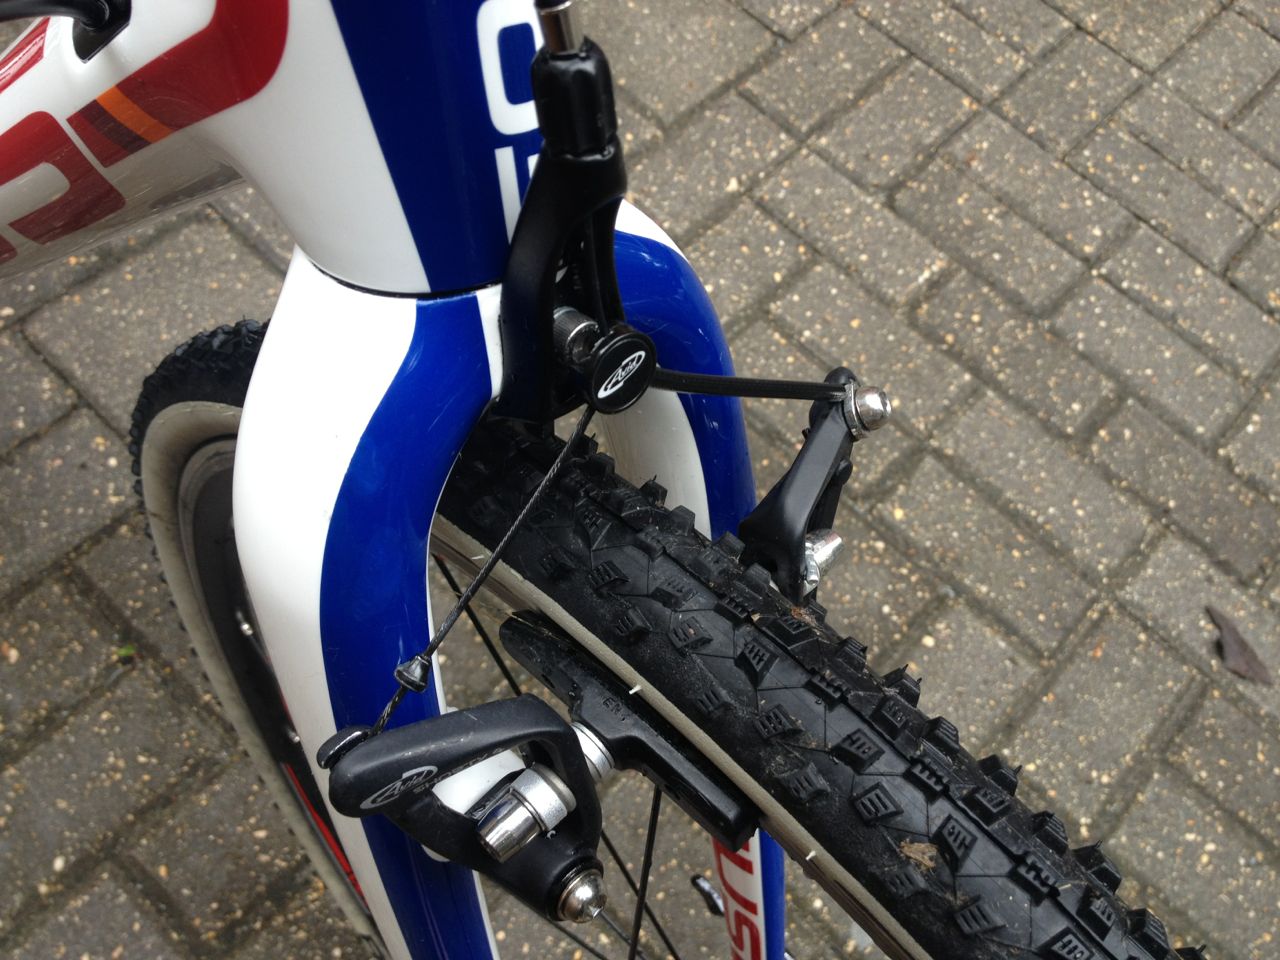
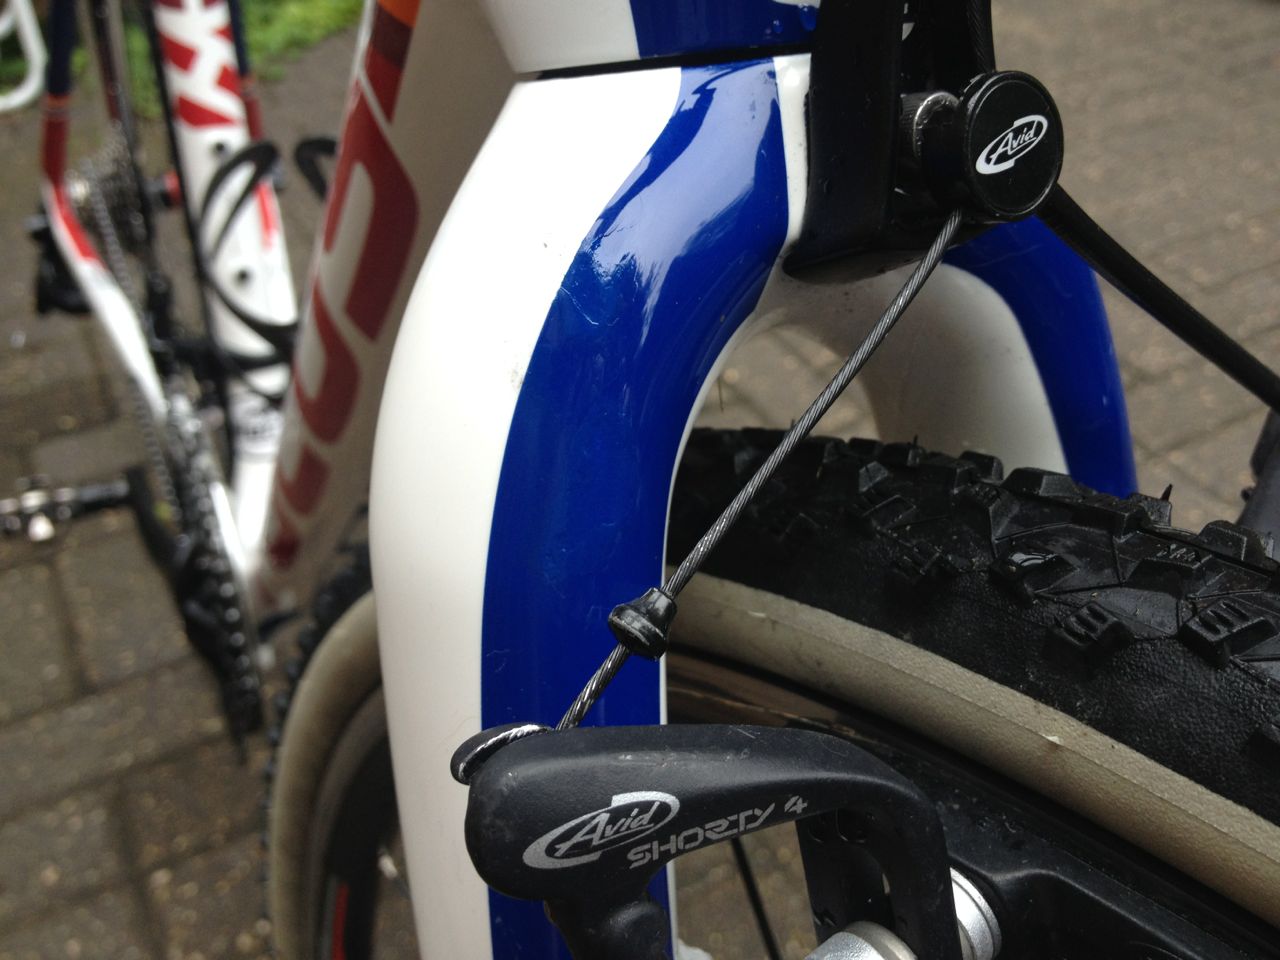
Unfortunately, you will always know the boo-boo is there, but nobody else will. And as someone pointed out, over the years you will eat shit many times on your bike, and these little nicks will only add to the patina of awesome.
Happy riding!
Nice job! I’ve got a couple of scratches on my car you can come over and help me with. I know how you feel about the bike. Two days after we got our pool table, a friend of the kids forgot about his big belt buckle as he was leaning over on it.
However we all know that you have a scratch there and will be looking for it the next time we meet. Great job btw on repainting your bike.
All the damage on my bike’s finish (and there’s many spots) has come from transporting it on my hitch rack. Since I switched to a roof mount from hitch mount, I’ve had no damage (the bird that impaled itself on my sprocket last weekend did not fare as well). I also tried model paint to repair but I was less thorough and the results speak for themselves :(.
The upside is, once that pristine ride is damaged, you can relax and proceed to ride the sh* out of it. Much like the Tuesday-Thursday ride group has been doing to me for the last several weeks 🙂 .
You need to fold down the back seats in the Subaru Outback and load the bike inside the car. That way there’s no more damage to the bike. Then strap the kids to the bike rack on the back of the car and they get entertained by having an exciting ride. Alternatively, you could strap the kids to the roof rack. But then you would need one of those telescoping ladders.
Very nice repair. Get a hitch rack that holds the bike by the front wheel and doesn’t have anything touch it. I had the same thing happen to a MTB years ago with an old style hitch rack that held the bike by the top tube. Too much chance of stuff rubbing together. BTW, really enjoy your blog. I grew up just over the border down by Pembina. My Mom worked for US Customs and Immigration. Been to Winnipeg many, many times. But that was many years ago. Hope to make it back someday.
Chicks I tell ya. Scratches, dents, gouges, scrapes , give the bike character . As long as the mech is maintained, beat the thing till it fades.
Nice bike though.
You have lovely nails.
Love your writings. Saw this and immediately thought of you…
Very tongue in cheek
http://www.velocution.com/?p=119
Another awesome post! You rock!
Congrats on the new ride and new-found skills to keep it beautiful.
Great post! You made me giggle! Glad you got her cleaned up and looking brand new again! 🙂